File formats: .ai / .psd / .pdf / .jpg / .png. Hand-drawn originals are also OK.
Recommended resolution: 300-600 dpi
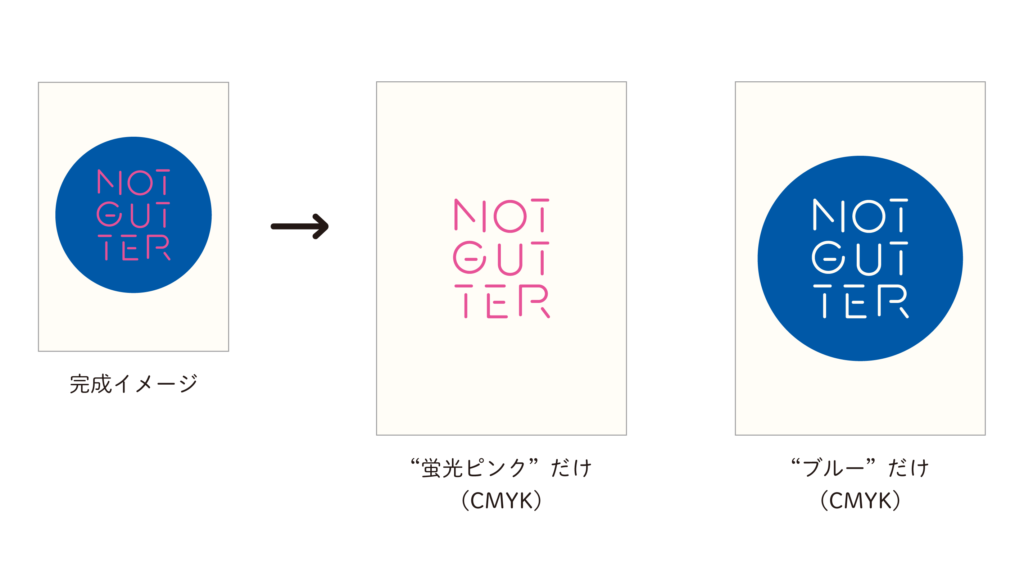
1. Create separation data, one file per color (for 2-color printing)
Risograph is a stencil printing method. A master is perforated, and ink is pushed through it one color at a time.
Unlike ordinary inkjet printing, you prepare separate data for each color.
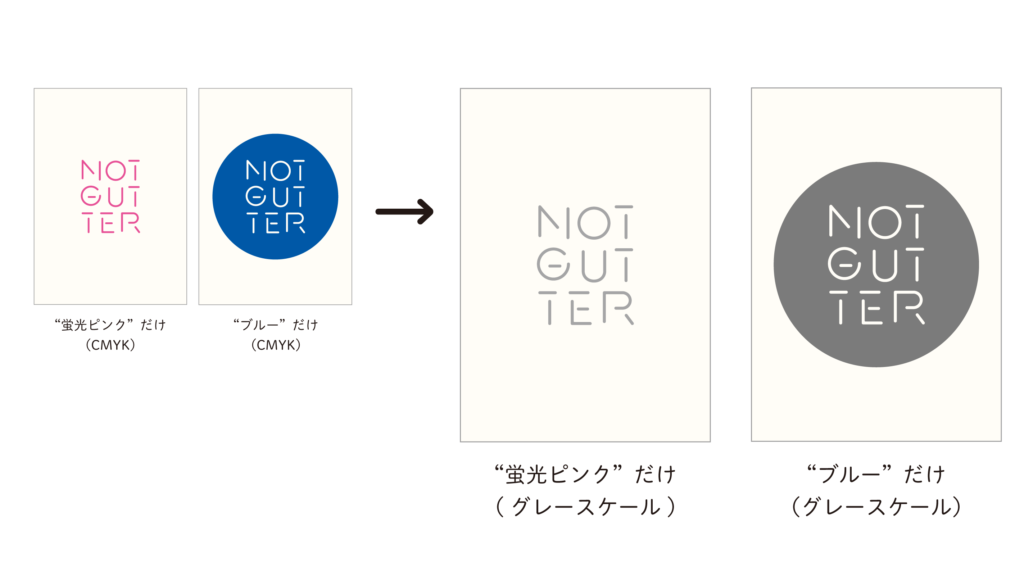
2. Convert each separation to grayscale/monochrome
Convert each color separation created in step 1 tograyscale/monochrome.
If the artwork includes gradients or midtones, grayscale is recommended.
* Some software may not let you return to color after converting to grayscale. Please keep a backup.
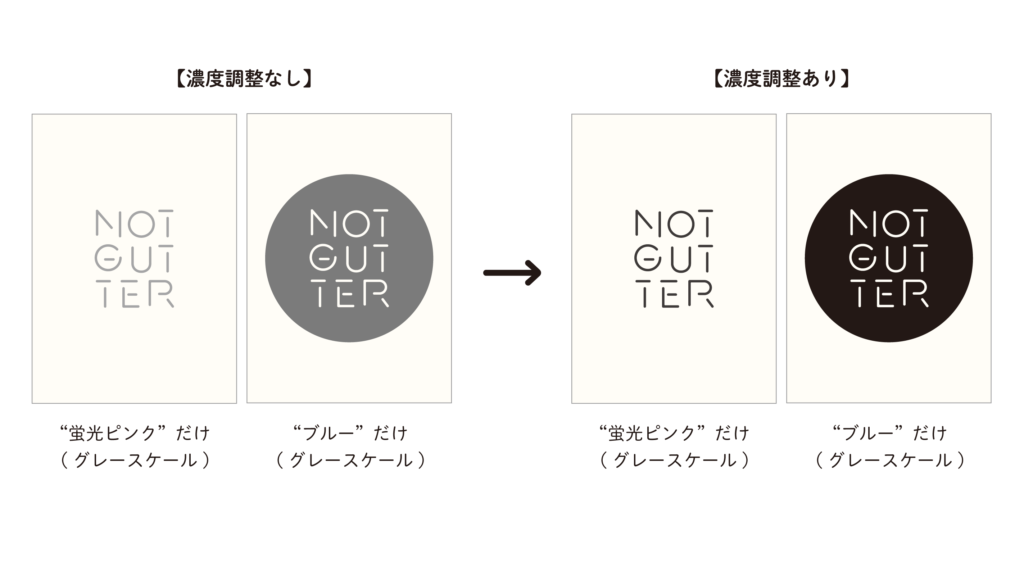
3. Adjust density
Risograph controls ink density based on the darkness of the black/grayscale data.
When converting from color to grayscale, the printed result may be lighter than expected.
Light or bright colors such as yellow and fluorescent inks may convert very lightly, so be sure to adjust the density.
* Risograph ink does not fully dry, especially in large solid areas.Keep density at K80-90% or lower.
Your data is ready. Let’s print it at NOT GUTTER.
Important notes

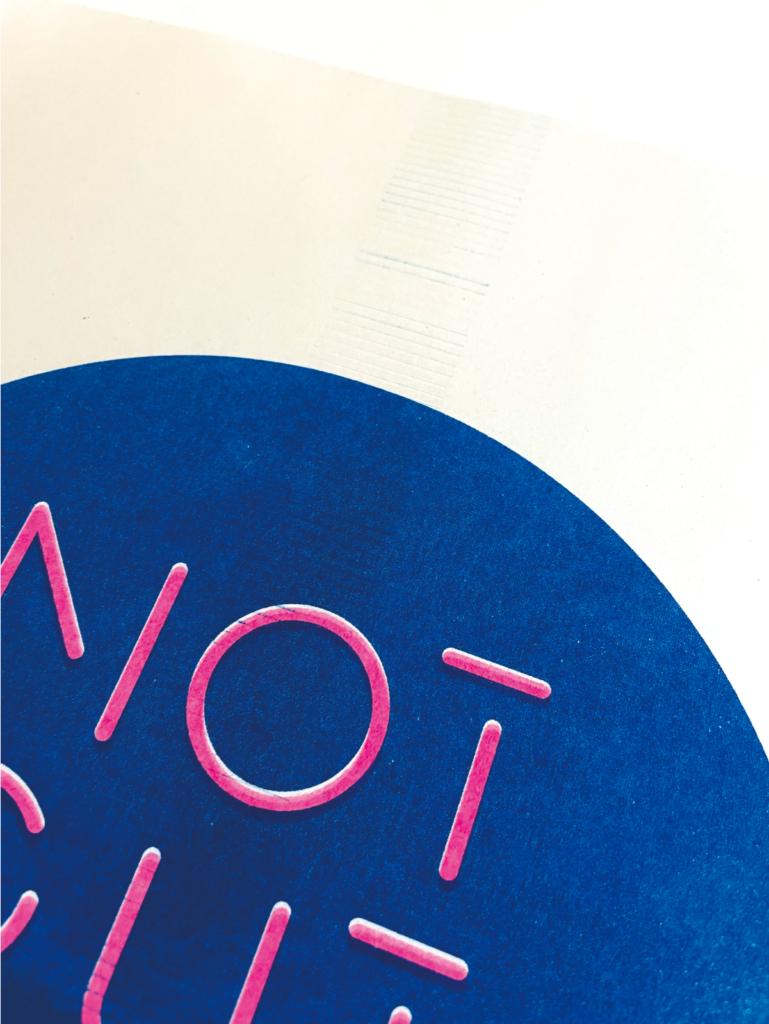
Plan for alignment and ink behavior
Risograph printing can vary slightly in alignment, ink density, and surface texture.
These effects are easier to handle when you plan your color separations with them in mind.
Watch out for roller marks
A roller in the center of the machine feeds the paper.
If your artwork has large solid areas, ink may stick to this roller and leave marks down the center.
The outer 3 mm cannot be printed
About 3 mm around the edge will remain blank.
If you need full bleed, print on paper larger than the finished size with crop marks.

